
Let's say your best friend has popped the question and is looking for a photographer to visually announce their love. They've done what we all inevitably do, and Google search "engagement photographer," only to be treated to a vast sea of sticker-shock photoshoot pricing packages. Who knew falling in love could be so expensive?!
Luckily, you -- the trusty Man or Maid or Person of Honor -- can rise to the occasion and save the day.
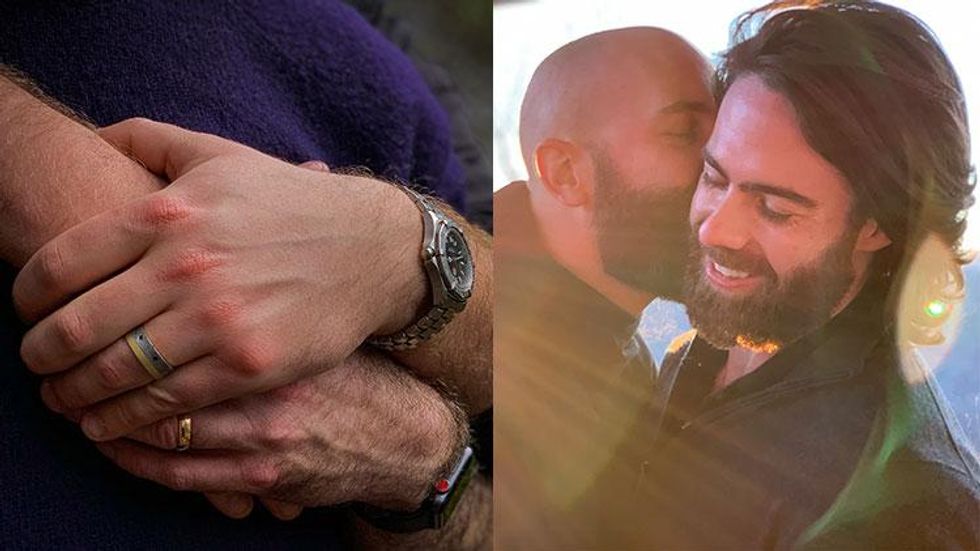
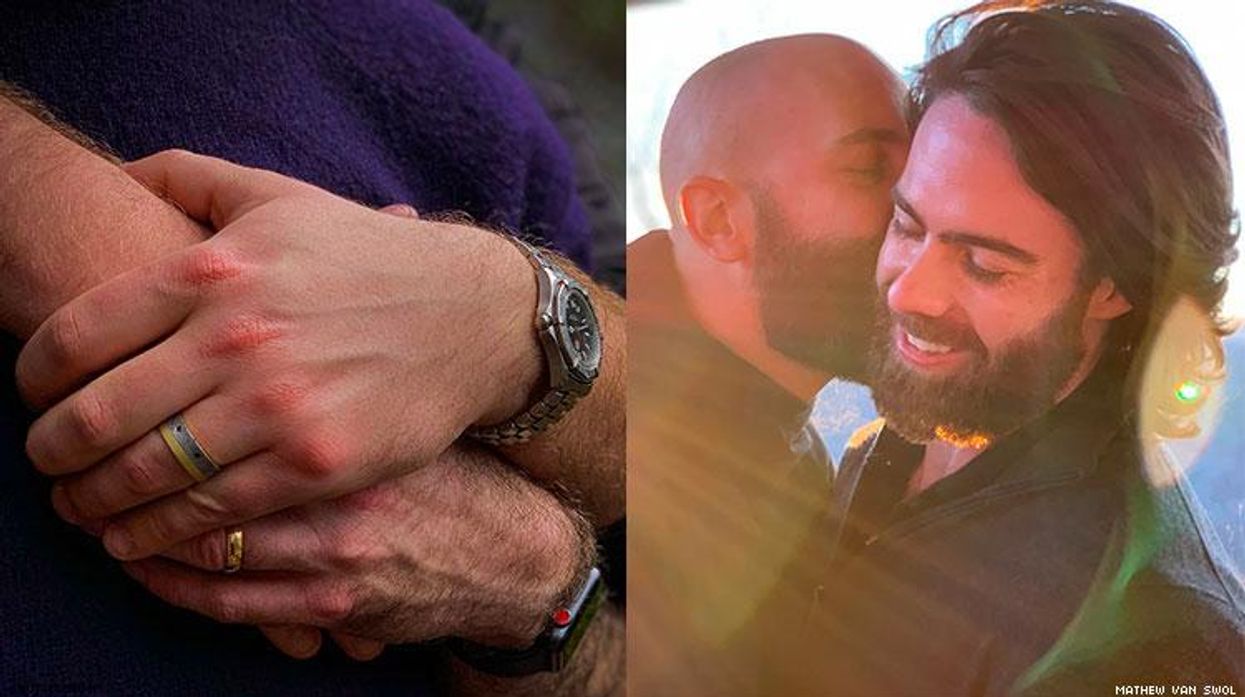
My name is Matt Van Swol, and I'm a professional landscape photographer. I have traveled all over the globe shooting marketing photos for Fortune 500 companies. I do not shoot portraits professionally, but on occasion, I have shot engagements for my close friends and family. Most of my friends are broke college students or young professionals still trying to find their footing financially. Although they're madly in love, they don't have the money to pay for a pro, and so, they asked me to shoot it for free instead. This article is for you, whether you're newly engaged yourself, planning an engagement, or are the sucker best friend who's about to be roped into playing photographer for a day. No matter the situation, there's no pressure! Never before has a modern population of people had such sophisticated visual technology literally at their fingertips and inside of their pockets or purses -- you just need to know how to do it right. Here are five tips to get you started.
Location, location, location
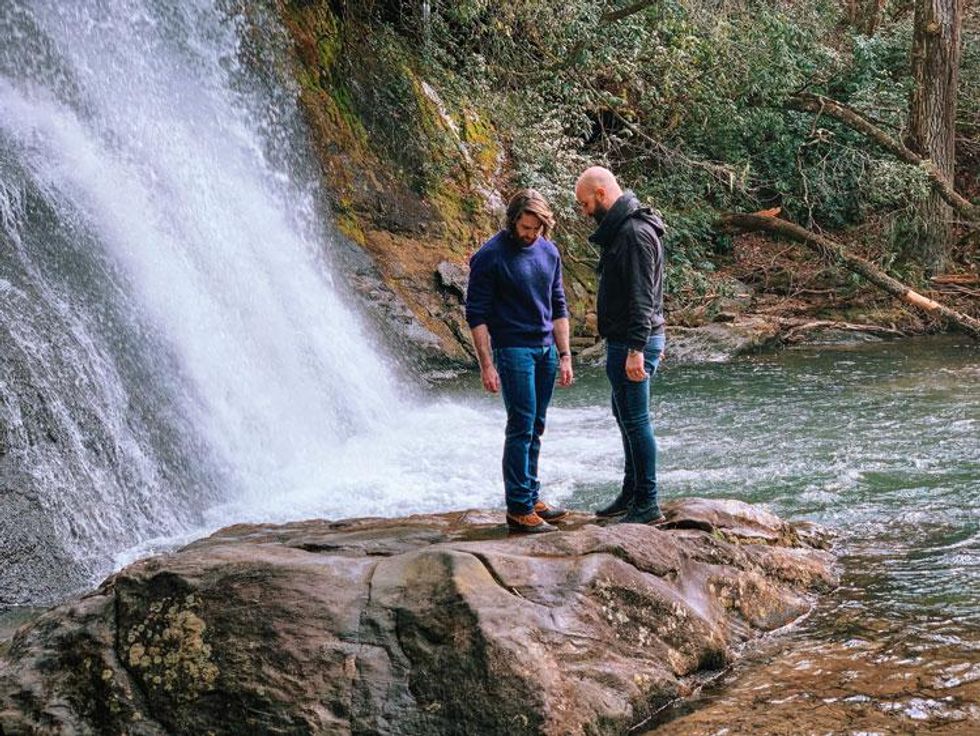
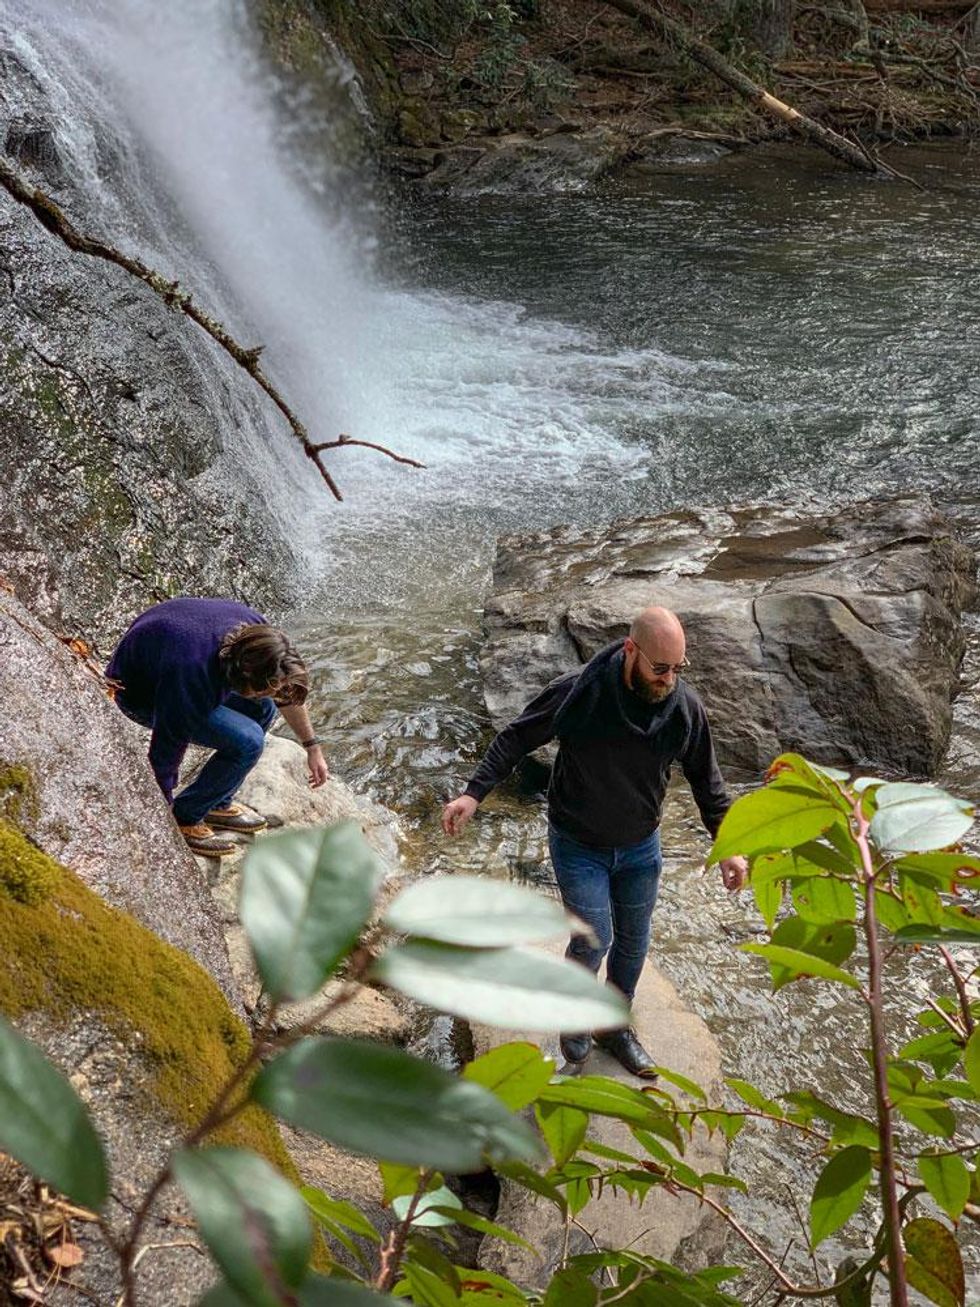
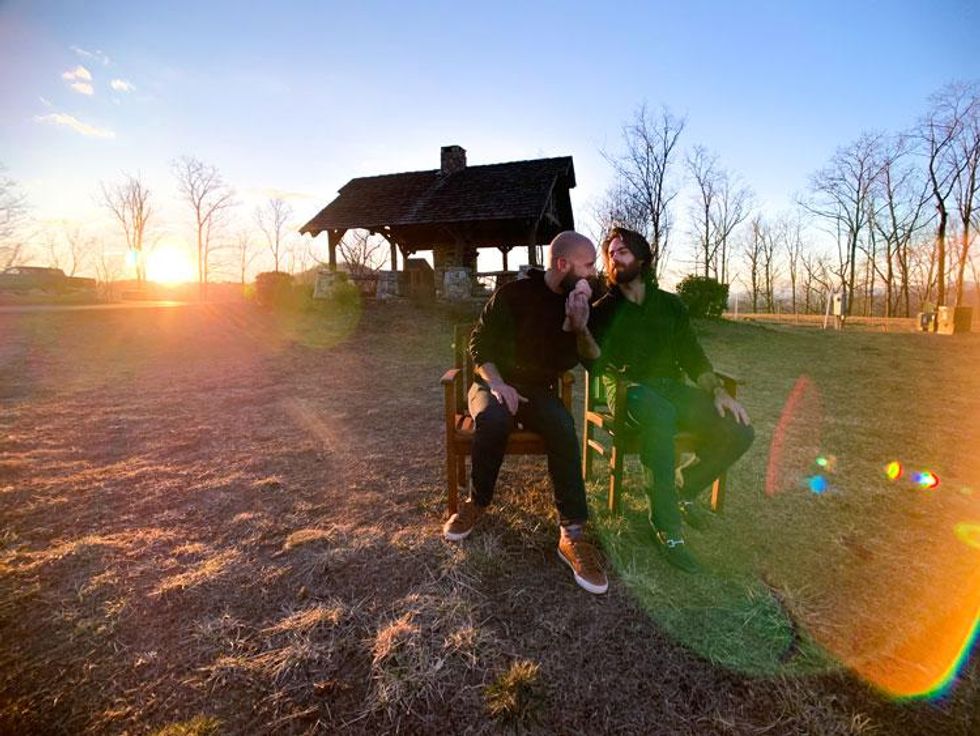
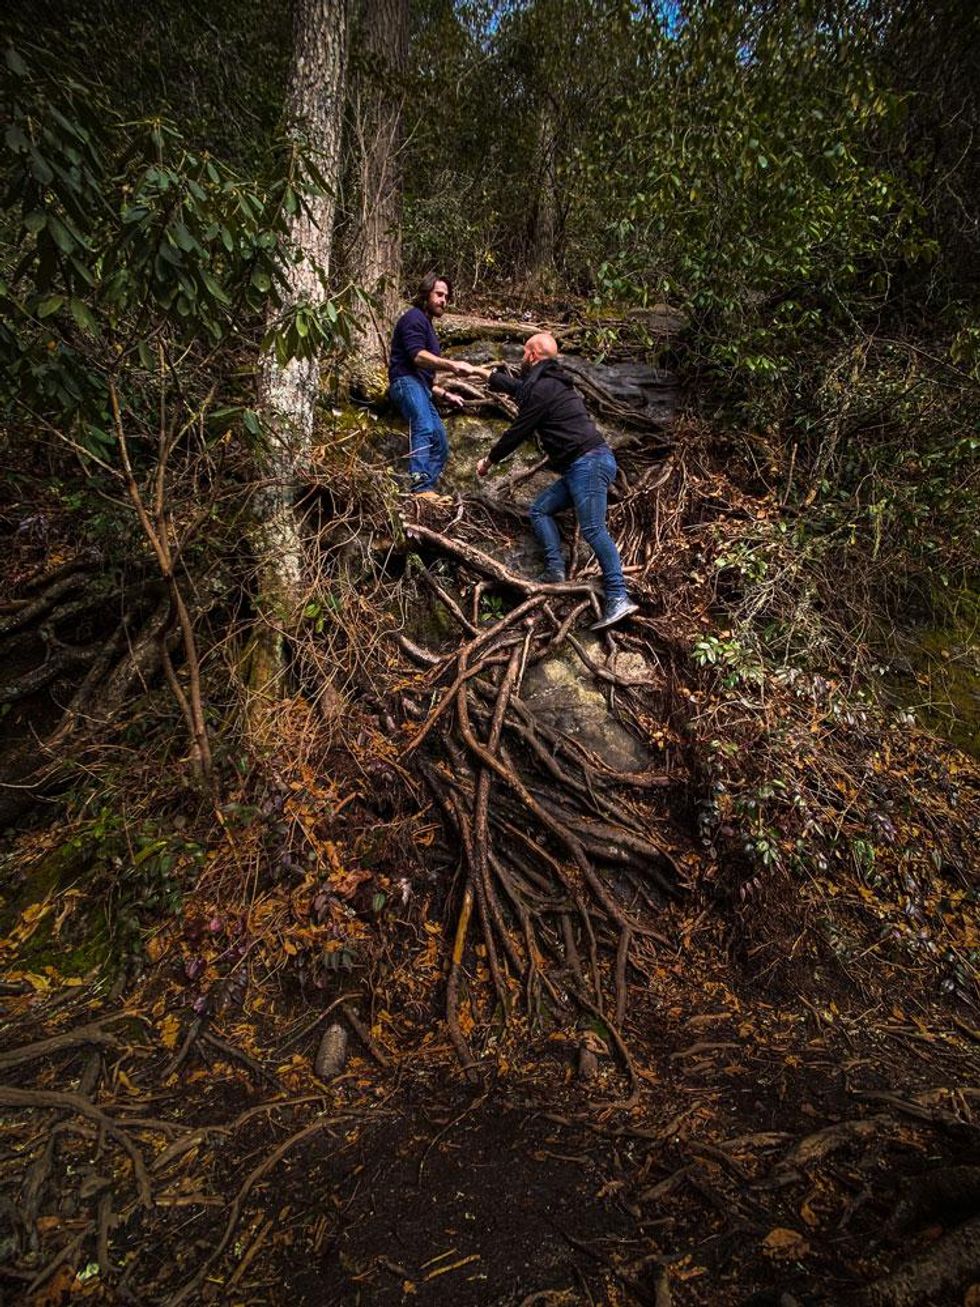
The location of your shoot will obviously vary based on where you are in the world. I live close to the Blue Ridge Mountains of North Carolina, so we based our shoot at two locations: a daytime waterfall and a mountain-top sunset.
If you choose to shoot in the concrete jungle of big cities instead, don't worry: the same tips will apply. Your choice of location and time of day will dictate what your iPhone can do and how much you will need to adjust for low light situations, bright sun glare, or any other complications you run into while shooting, which brings us to our next point...

Composition and Subject
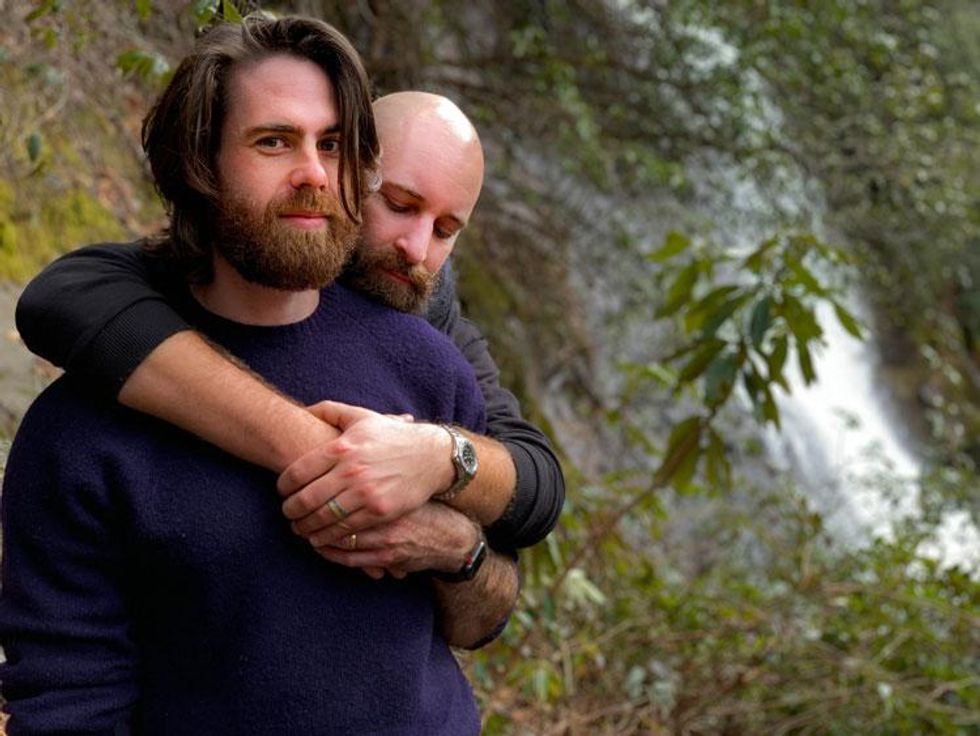
You want to make your friends look stunning together, and great composition makes up for any lack of camera gear. You'll want to keep the Rule of Thirds in mind when shooting, so start by turning on the grid lines in Setting > Photo and Camera > Grid. A simple explanation of the rule in this case is to position your two love birds somewhere between the "crosses" you'll find in the corners the bottom. Note how Grant and Michael's faces in this shot are centered around the top left "cross". Of course, you don't have to stick to this rule for every shot, but it adds some dynamic artistic flair for the non-artist.
Lighting and Exposure
Lighting is arguably the most important part of any photo, and your native iPhone camera app has some ways to help control your exposure. Open up your camera app, tap on the screen and hold, now slide up or down to change the exposure levels. I've found this tool to be stunningly helpful in saving color or clarity in the highlights or shadows. You can work in that coveted lens flair in your iPhone photos by experimenting with angles while simultaneously reducing exposure via the method above.
Camera Modes and Lenses
All the new iPhones have a Portrait Mode in the native camera app. Shooting with this can be hit or miss depending on the lighting, but I am still consistently blown away by the beautiful shots I've gotten through Portrait Mode. If you have an iPhone XR, you can still shoot portrait mode on people, but if you have any of the dual camera iPhones, Portrait Mode works for almost any object. If you are looking for more flair or depth to your photos, try grabbing some clip-on lenses from Olloclip. They make all different kinds, but I fell in love with their Super-Wide Pro lens;it nearly doubles the wide angle view of your shot and the clarity is just spectacular.
Post Processing
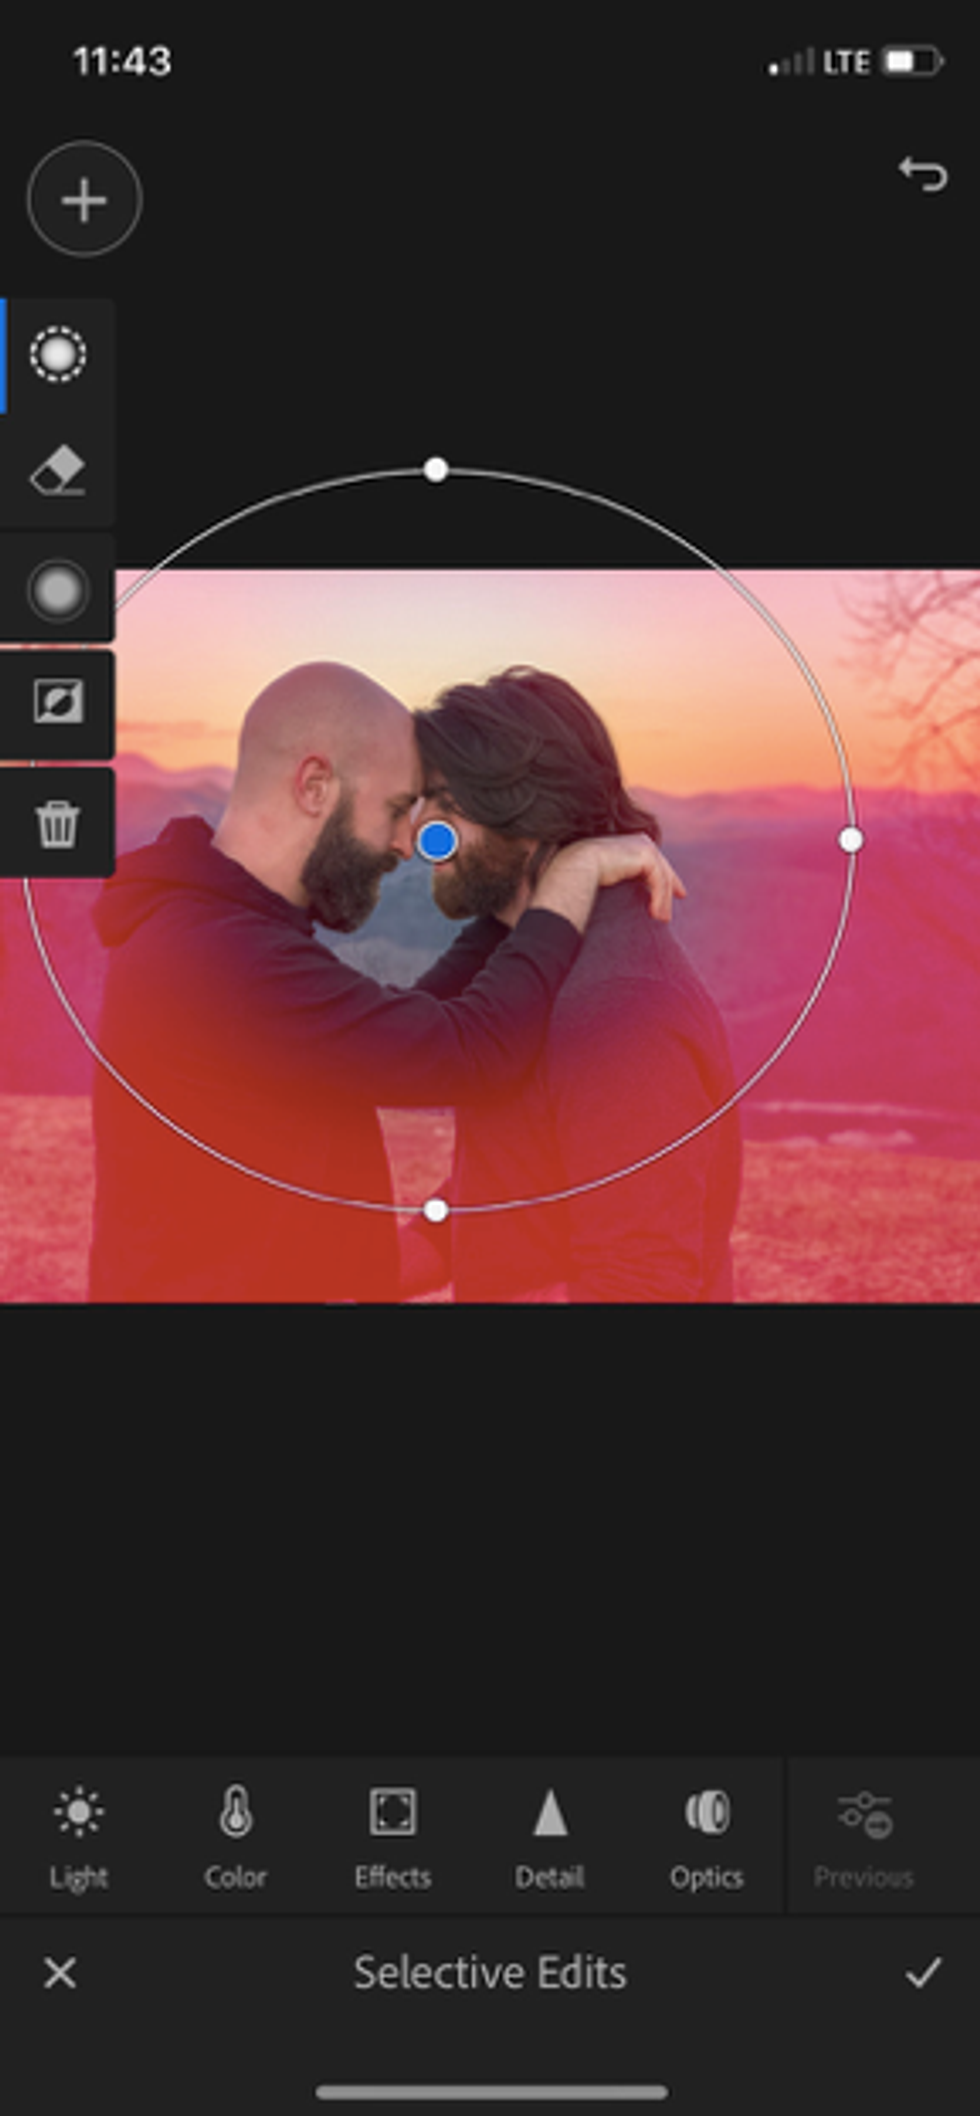
Every photo you've seen so far has been entirely shot and edited on an iPhone. Editing probably takes the most effort, but with some simple rules of thumb, it can be copy-and-pasted to nearly every photo you shot. I use two apps to edit on my iPhone: Lightroom Mobile and VSCO. (Students receive deep discounts for Creative Cloud through Adobe and VSCO is very affordable!)
Three quick things you can do to make your photos pop is through cropping, a radial gradient in LR, and a filter in VSCO. The largest photo crop for Instagram is 4:5, so hop into the photos app tap Edit > Crop > the icon that looks like a series of windows > 4:5 for photos you shot vertically before following the next steps.
To apply a radial gradient through Lightroom mobile, follow these steps: Selective > Circle Icon with Radial Dots > Black and White Circle Icon inside of Black and White Square > Exposure. Darkening the exposure around your subjects, even a mild amount adds beautiful depth.
Next, transfer your photo into VSCO and scroll through their filters to find one that fits the mood. I used primarily F1, F3, and K3 for this shoot.